HUTS ADU Plans : FAQs
You are one step closer to creating a little space of your own! Read on
Read more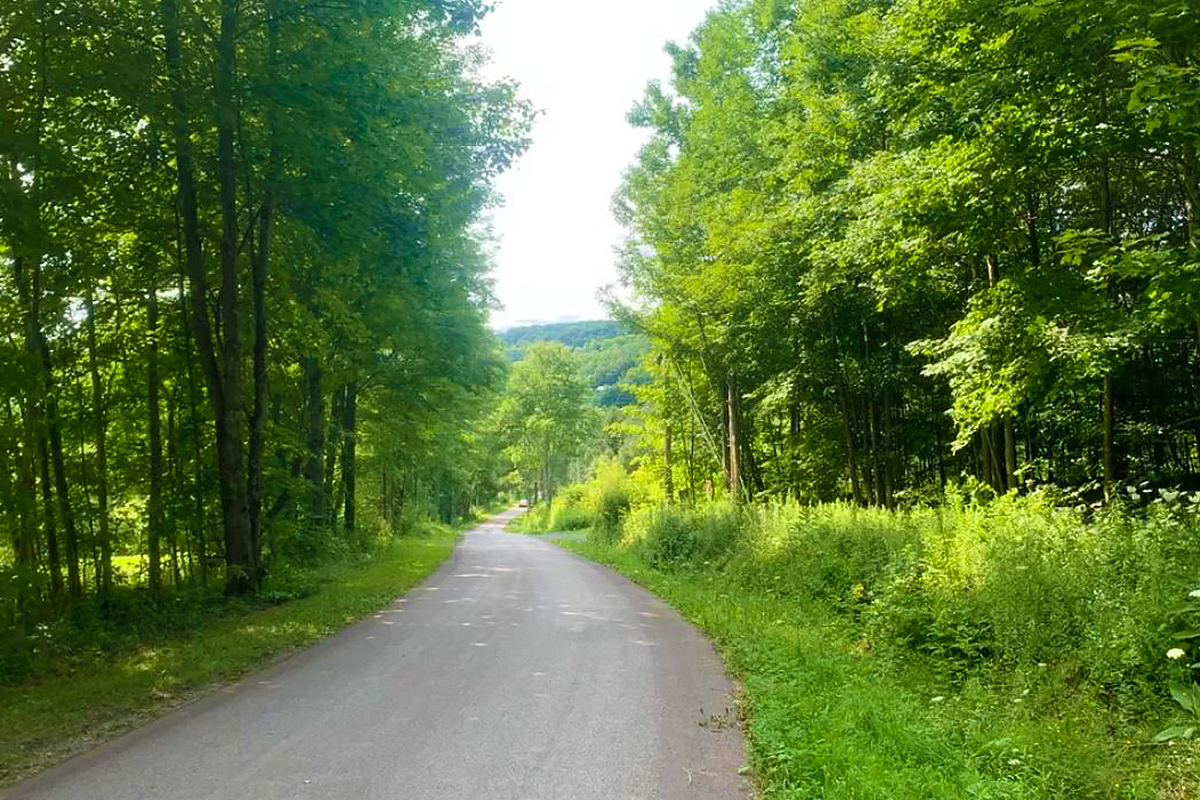
Building your new home also includes building up the land around it! You’ll probably want a driveway for your cars, but you might not know where to start. Don’t fret, here’s a helpful guide for building your new driveway.
So you know you want a driveway, but have you thought about what type of driveway you’d like? You can choose from gravel, asphalt, or concrete and paver driveways.
A gravel driveway is the most affordable because gravel is easy to find and cheap to purchase! Maintenance will be extremely low cost and low effort and a gravel driveway also allows for great drainage! However, gravel driveways are susceptible to erosion and will require more care than any other driveway type.
An asphalt driveway is more expensive than gravel but is more durable too. It has a lifespan of up to 40 years and is still more affordable than pavers. An asphalt driveway is also still susceptible to climates. In extreme heat, the asphalt may crack or become gummy. Plus, this driveway will need sealing every 2-5 years.
Concrete and paver driveways are the most expensive option, but they are by far the strongest option. And an added plus, paver driveways can be great for drainage if your land is low-lying or typically floods.
Check your land’s existing blueprints and contact the town for information on utilities pipes and lines that may be running underground on your property. If there are existing lines, you may be able to move them to position your driveway exactly where you want it. On the other hand, you may need to work around existing lines.
Hire a surveyor to research and inspect your lot. The surveyor will likely leave markers at the edges of your property and where certain utility lines are. With this knowledge under your belt, you can begin marking where you will build your driveway.
If your lot has hills or uneven ground, you’ll most likely want to level it out before building your driveway. You can hire professionals for this step and these individuals will use an excavator to prep your ground.
This step will differ depending on which type of driveway you’re building
Gravel
When it comes to gravel, you’ll put down your rocks and voila! Your driveway is complete.
Asphalt
You’ll start with a sub base, aka a frost barrier for colder climates that may experience freezing and therefore, thawing. Next up is the binder, which is aggregate mixed with oil to make your driveway strong and stand the test of time.
Then you can install the true asphalt surface, aka the top layer which is made of small aggregate, sand and oil. The professionals pouring the asphalt will also make sure it smoothly connects to any roads or garage floors that may be part of the mix!
And lastly, the professionals will use a roller truck to smooth the surface of your new asphalt driveway. After allowing the asphalt to set, you can start using your driveway!
Concrete/Pavers
In the event that you want a concrete or paver driveway, you’ll need to add clay or sand to create a firm base.
Here is where concrete and paver driveways start to differ from one another. For concrete, mark out your driveway with wooden stakes. You’ll want to install the forms for your driveway that you’ll eventually pour the concrete into. Then, fill your driveway space with road base, which is a combination of crushed granite and gravel. After this settles, you can fill the spaces that aren’t level with gravel or crushed rock. Make sure your driveway base is thick enough to support your vehicles.
Next, you (or your hired professionals) will use a plate compactor to compress your driveway base materials. Now’s the time to add reinforcements like steel beams, if you choose to. After all this, you’re finally ready to pour concrete from the truck! Once the concrete is poured, be quick to flatten and level your driveway. Then, you can put in contraction joints to avoid cracks as the concrete dries and hardens.
Next, add texture! You can do this dragging a broom across the top of your concrete. This will help your car gain traction in wet or slick conditions. Finally, cure your concrete driveway with a curing compound to protect it from rain and snow.
If you’ve chosen to use pavers for your driveway, you’ll want to install a screen after you’ve created your sand base. Then, you’ll install a paver base with gravel or crushed rock. This base will then be covered with concrete sand, which will need to be leveled and smoothed.
Next, you’ll set up your edging, to keep your pavers from shifting, around the driveway edges. After this, you can put down your pavers.
Then, you’ll spread your mason sand down over your pavers and tamp the pavers down to spread the sand in between each and every paver. Apply concrete sealer and allow it to dry, then you can use your driveway!